tl;dr
Rj Editorlets you analyse data in jamovi with R, and make use of your favourite R packages from within the jamovi statistical spreadsheetjmvconnectmakes it easy to access jamovi data sets from R
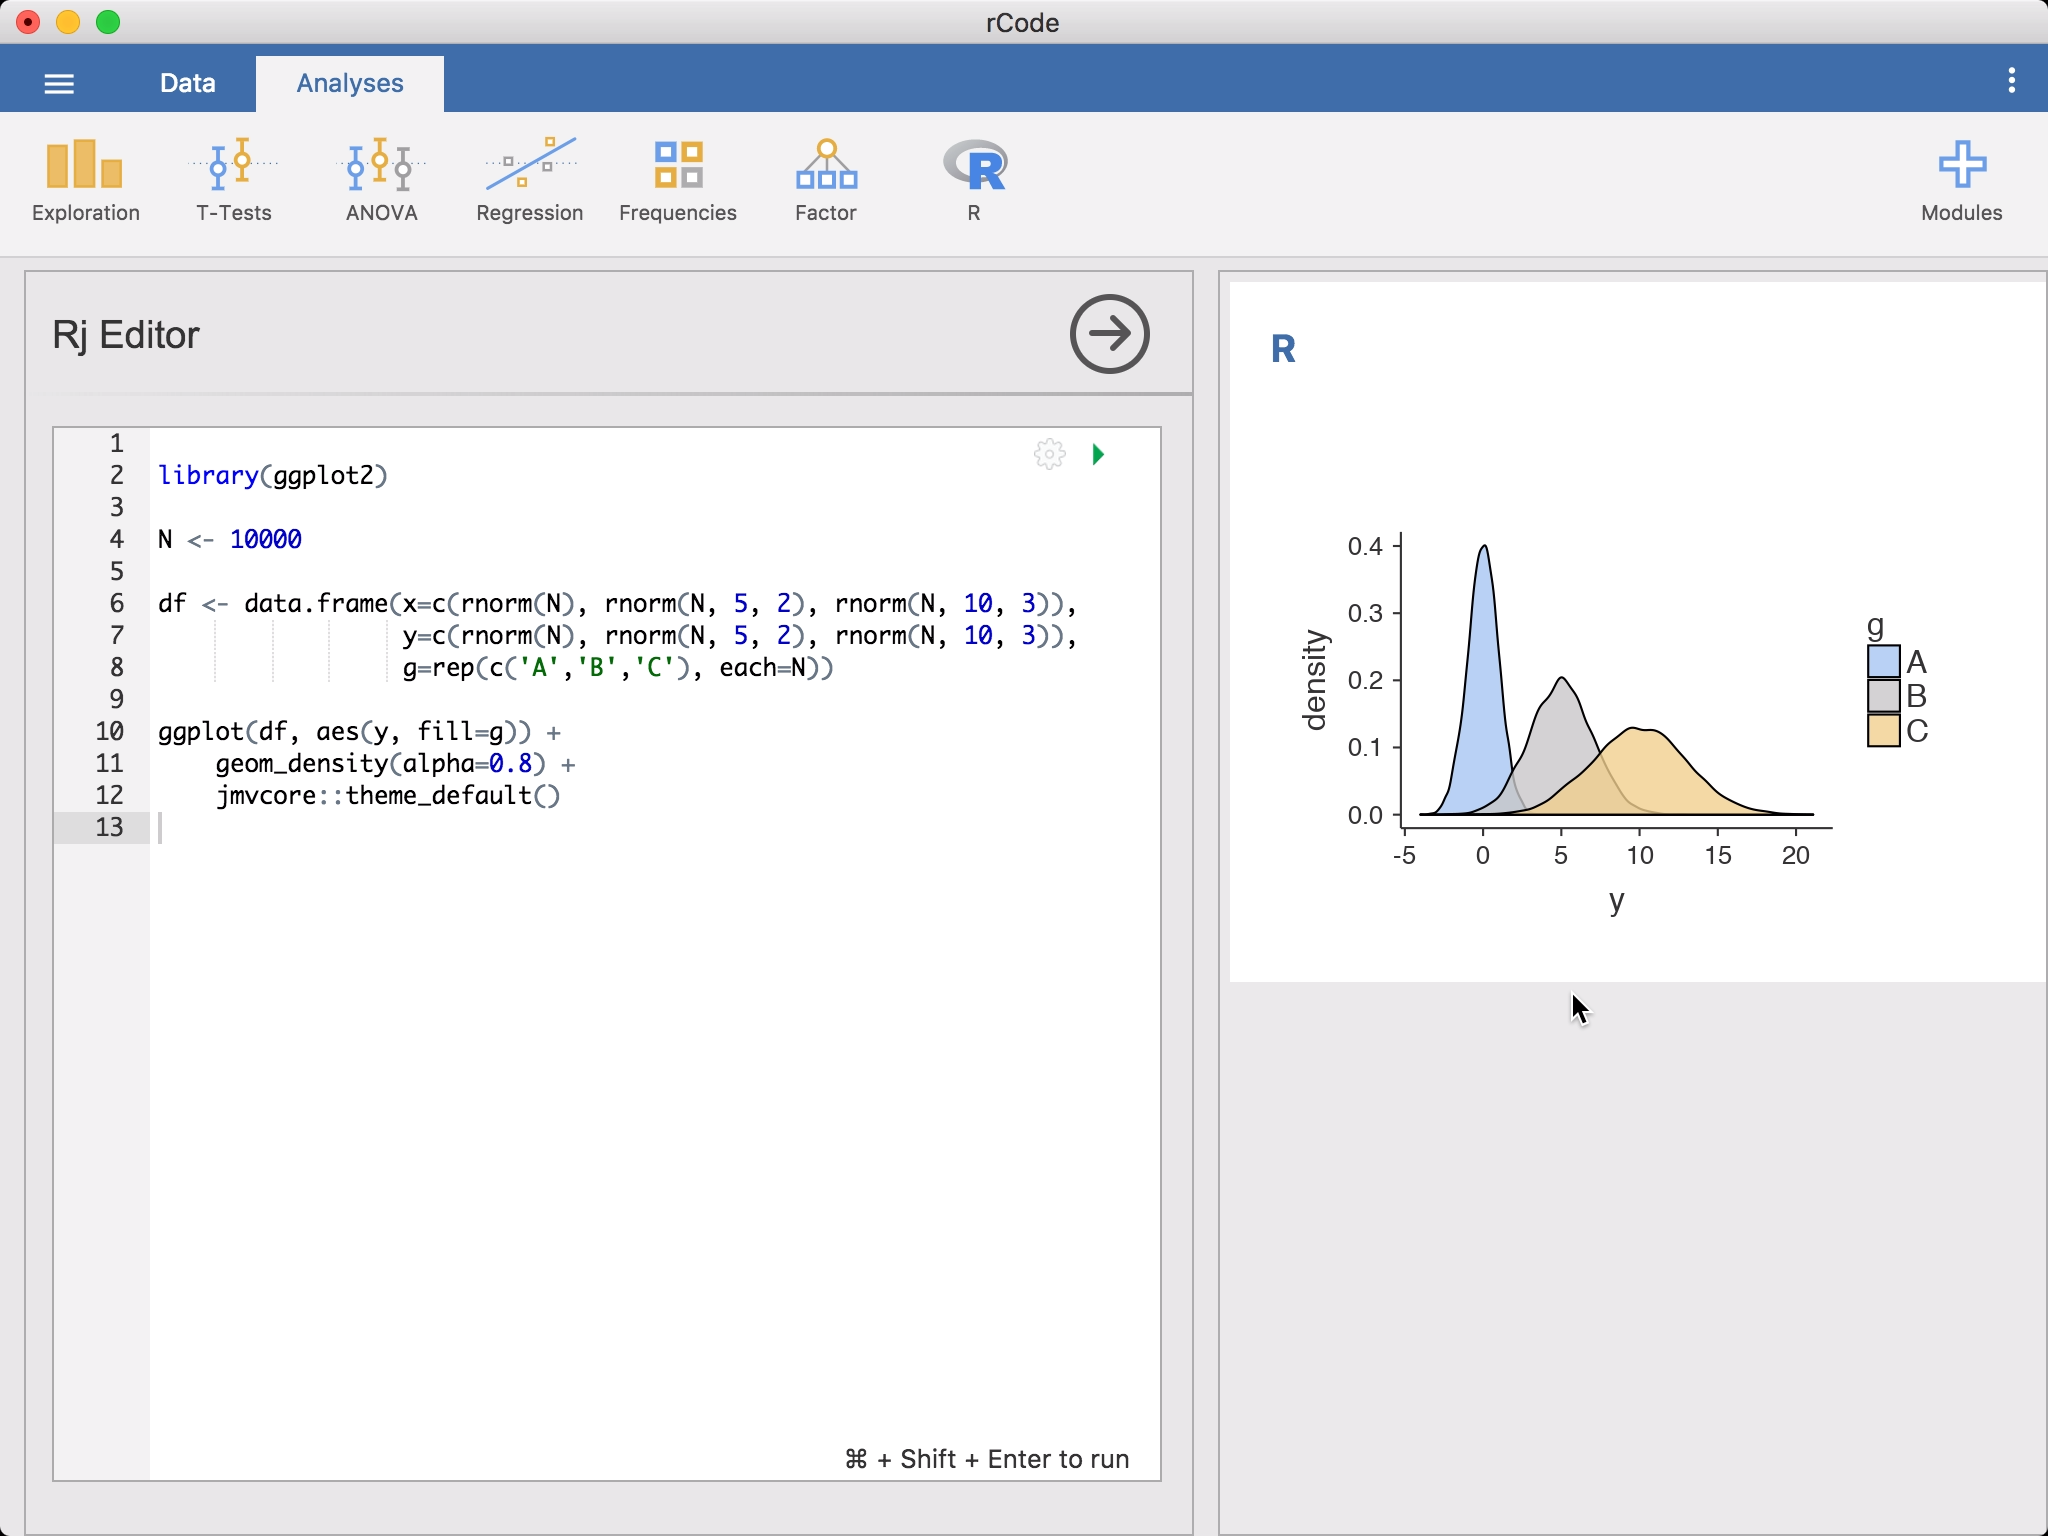
Rj is a new module for the jamovi statistical spreadsheet that allows you to use the R programming language to analyse data from within jamovi. Although jamovi is already built on top of R, and all the analyses it provides are written in R, to date it hasn’t been possible to enter R code directly. Rj changes that.

There are many reasons you might want to do this; there are a lot (thousands!) of analyses available in R packages that haven’t been made available as jamovi modules (yet!), and Rj allows you to make use of these analyses from within jamovi. Additionally, you can make use of loops and if-statements, allowing (among other things) conditional analyses and simulation studies.
For some, using R in a spreadsheet will be an ideal place to begin learning R. For others it can be an easy way to share R analyses with less technically savvy colleagues. (And some people just prefer to code!)
Installation
Rj is available from the jamovi library, and requires a recent version of jamovi. The jamovi library is accessible from in the Analyses tab -> modules menu at the top right of the jamovi window. Scroll down the list until you find Rj, and select install. jamovi will download Rj, install it, and then Rj will be available from the jamovi analysis menu (The menu should pulsate blue when you first install a module).
Enter code
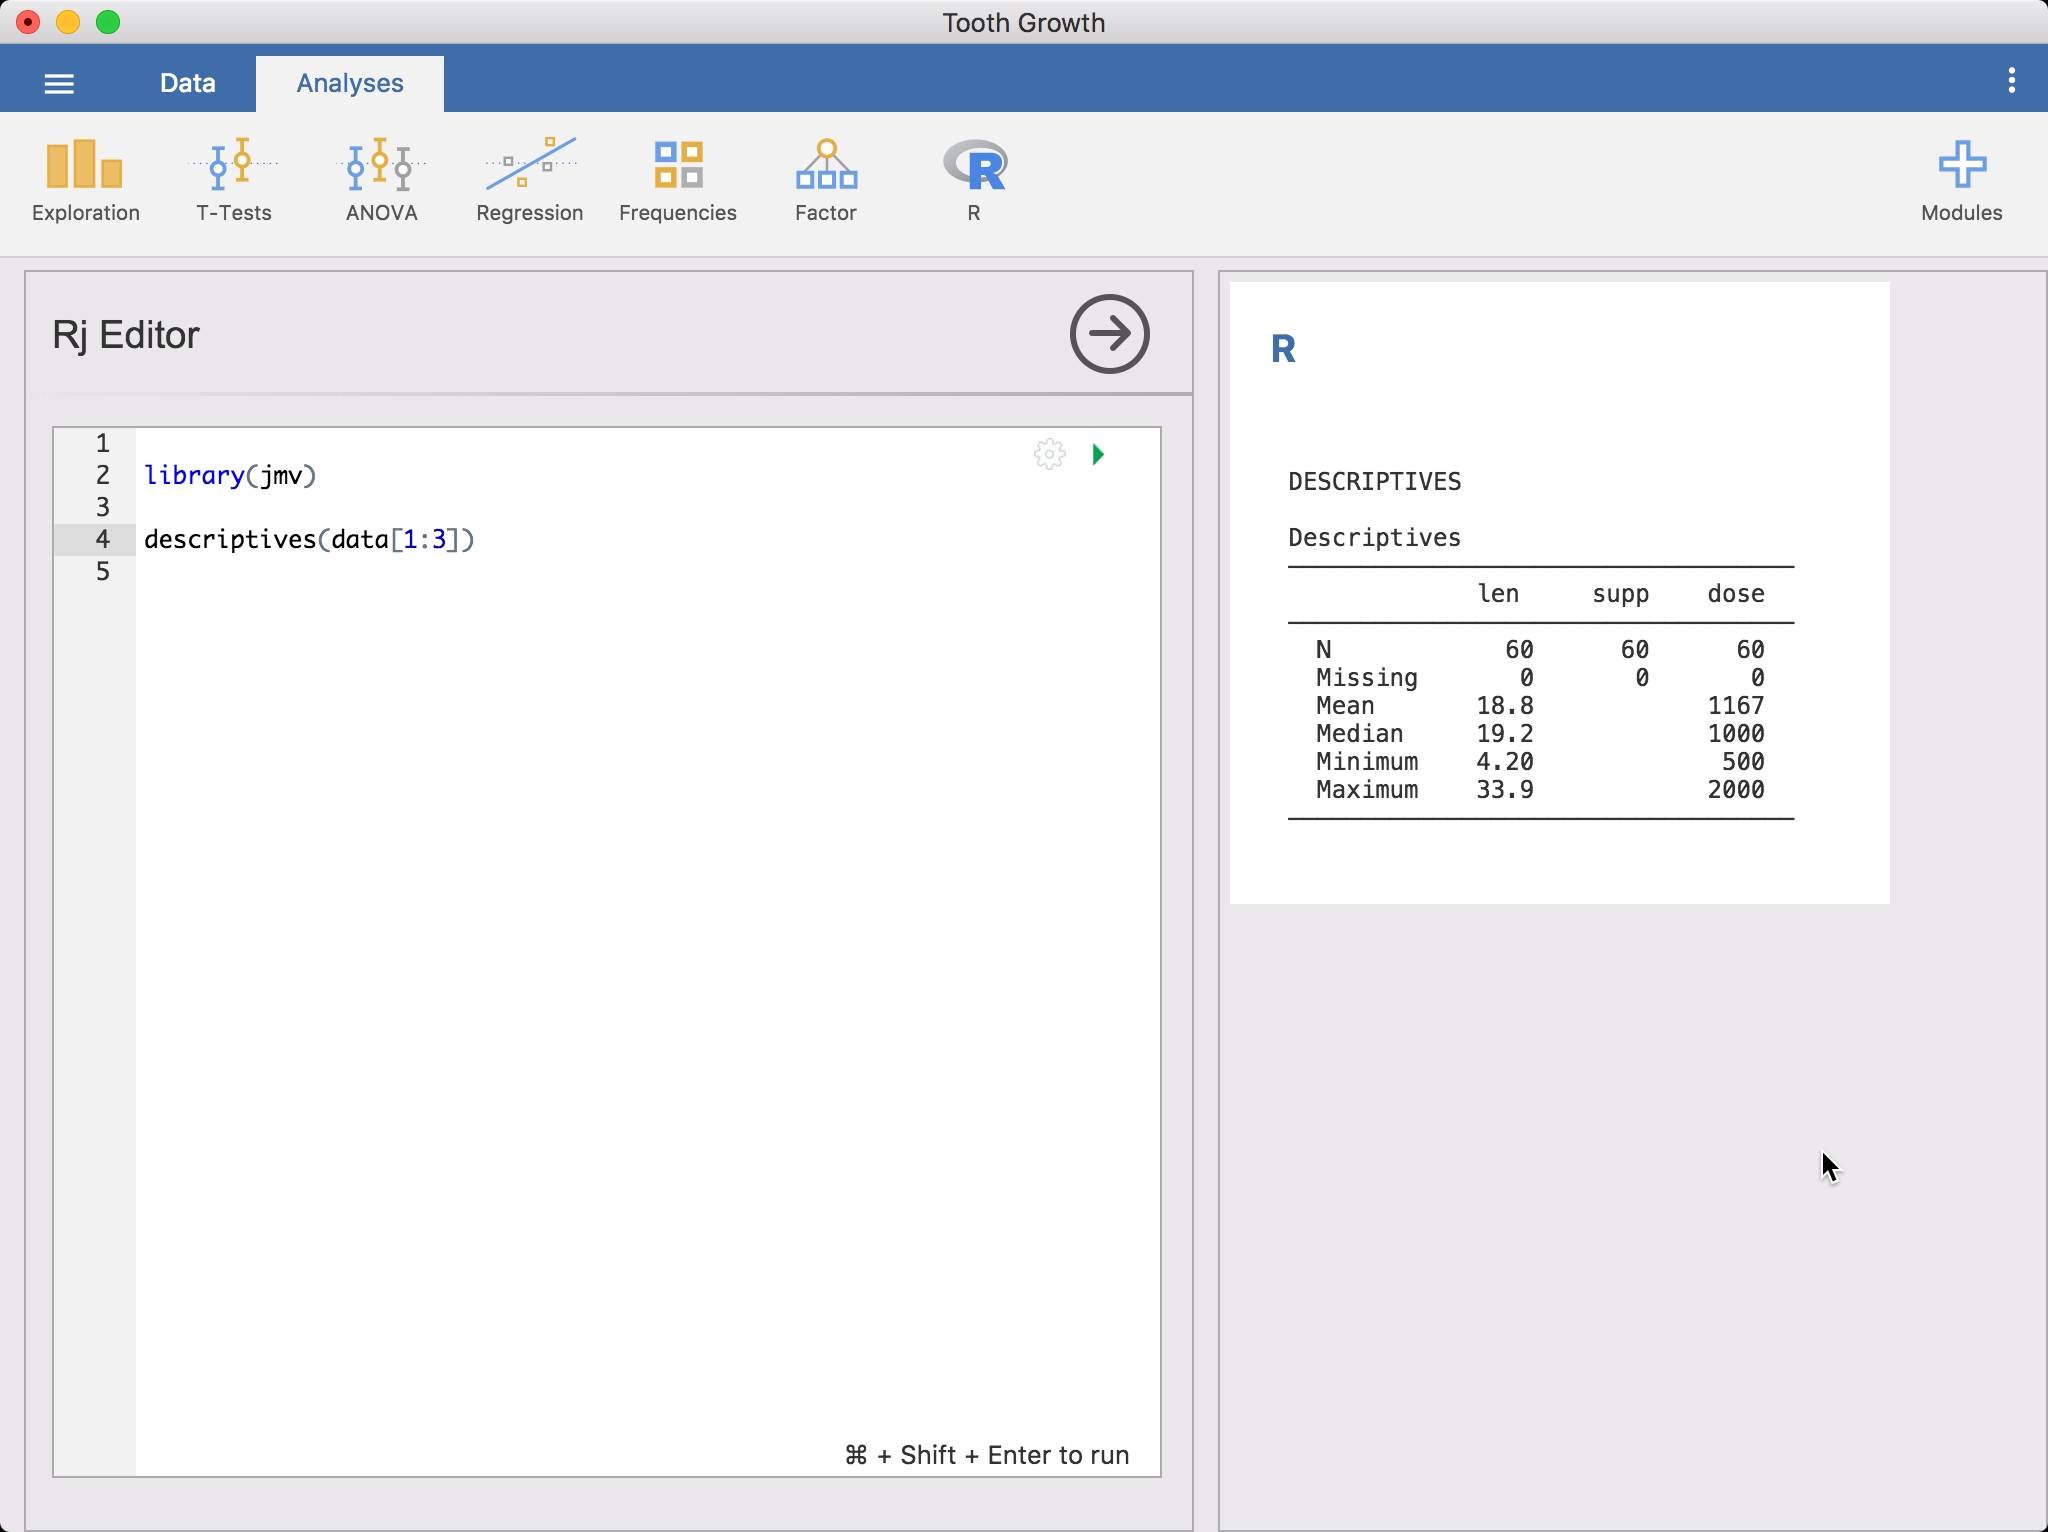
To run an R analysis, select Rj Editor from the R analysis menu. This will bring up the editor for entering your R code. The data set is available to you as a data frame, simply as data. To get started, you might like to run descriptives on it.

Or if you prefer the dplyr approach, you could go:
library(jmv)
library(dplyr)
library(magrittr)

select(data, 1:3) %>%
    descriptives()
You’ll notice as you’re entering this code, Rj auto-suggests function names, like in RStudio.
To run the code, press Control+Shift+Enter (or ⌘+Shift+Enter if you’re on a Mac). jamovi will run the R code and the results will appear in the results panel like other analyses. You can continue to make changes to the code, and press Control+Shift+Enter to run it again.
By default, Rj makes use of the version of R bundled with jamovi. This includes many packages (jmv and all it’s dependencies, see here), and will be sufficient for many people, but if you need to make use of additional R packages then you’ll need to make use of the System R version. If you select the configuration gear to the top right of the code box, you’ll see an option to change the R version used.
The System R version uses the version of R you have installed (i.e. from CRAN). This has the advantage that your R code now has access to all of the packages you have installed for that version of R. jamovi should locate your system R installation automatically (It uses the same algorithm that RStudio uses). The last thing you will need is to have the jmvconnect R package installed in your system R library. This package allows your system R version to access the jamovi data sets. You can install it from an R terminal or from RStudio with:
install.packages('jmvconnect')
Once this is done, moving from the jamovi R to the System R should be seamless.
It’s worth remembering that sharing jamovi files with colleagues becomes a bit more complicated when you make use of the System R version. If they want to make changes and re-run your analyses, they will need to have the same R packages installed – that’s the price of flexibility!
Not all data
When Rj runs R code, by default it makes the whole data set available as a data frame called data. However, it’s likely that your analysis only makes use of a few columns, and doesn’t need the whole data set. You can limit the columns made available to the analysis by including a special comment at the top of your script, of the form:
# (column1, column2, column3)

library(jmv)

...
In this instance, only the named columns will appear in the data data frame. This can speed the analysis up, particularly if you are working with large data sets. Additionally, this lets jamovi know that the analysis is only using these columns, and the analysis will not need to be re-run if changes are made to other columns.
To the terminal!
There may be times where you’ll want to transition to an R terminal or RStudio for analysing a data set. This is where the jmvconnect R package comes in handy. jmvconnect let’s you read the data sets from a running jamovi instance into an R session. At time of writing it has two functions:
what()read()
what() lists the available data sets, and read() reads them. For example, you might go:
> library(jmvconnect)
>
> what()

 Available Data Sets
 ─────────────────────────────────────
        Title           Rows    Cols
 ─────────────────────────────────────
   1    iris             150       5
   2    Tooth Growth      60       3
 ─────────────────────────────────────
and then read the data set with:
data <- read('Tooth Growth')
or
data <- read(2)
Before you ask, we intend on adding support for reading .omv files from R too (and for saving/opening .RData files from inside jamovi).
Work in progress
Auto-suggest is a work in progress, but you’ll still find it pretty useful. At present, it only suggests functions from the base packages, the recommended packages, and jmv. This is something we’ll broaden in the future. We also need to add a help system where you can access package documentation.
Package installation for the System R is technically possible through Rj, but is less than ideal. The UI will hang, and you won’t receive any feedback as to what’s going on. This is something we’ll improve in the future. For now, you can just use an R terminal, or RStudio.
In summary
Rj and jmvconnect make is easy to access R from jamovi, and jamovi from R.
Comments